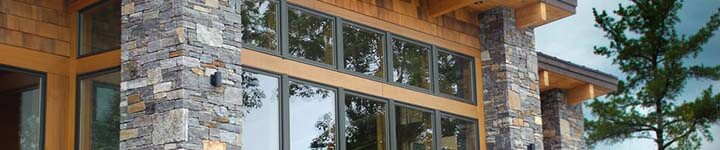
- Intro and Materials
- Taking Measurements
- Preparing Your Substrate
- Plan Your Layout
- Install Your Stone
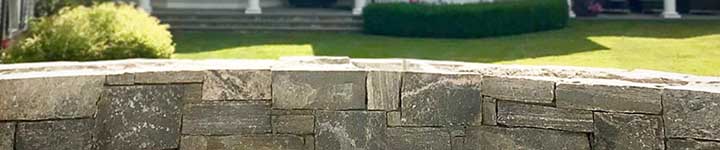
- Complete Your Install with Mortar Joints
If you prefer to see the joints between the veneer stone, it’s time to fill your joints with a pointing mortar to finalize your project.
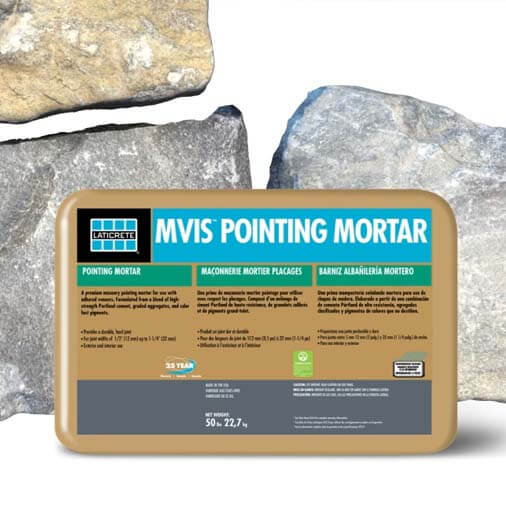
We recommend using the MVIS Pointing Mortar. The easiest way to apply this product between the gaps is by using a grout bag.
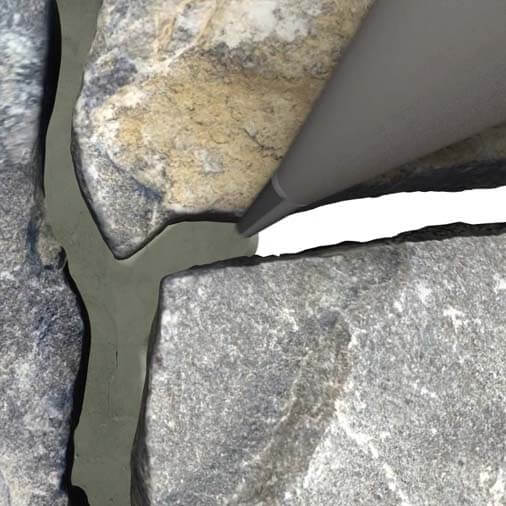
Fill your bag with the MVIS Pointing Mortar and gently squeeze it out as you move it along each joint.
Make sure all of the edges and ends are covered and that the joint depth is uniform.
You can use a pointing tool to pack the grout into the joints once it’s slightly dry to help eliminate visible gaps.
Finally, it’s time to clean your stone veneer once it’s installed and grouted.
Just make sure the excess grout is cleaned within 30 minutes or it’ll start to dry and become difficult to remove.
And now your thin stone veneer installation is complete. Like we mentioned previously, your particular install procedure might vary based on the scope and details of your unique project, but this guide should give you the basic foundation and knowledge you need to purchase and install Green Mountain Veneer’s Natural Thin Stone Veneer.
To get started on your project, send us a message or give us a call at 802-377-3039.
When you are ready to capture nature’s stone beauty in your home, call Green Mountain Veneer at (802) 377-3039 or contact us below. We offer a unique and wide-ranging selection of beautiful stone cut from quarries in the Northeast, and we ship nationwide! We look forward to partnering with you to create the home of your dreams.