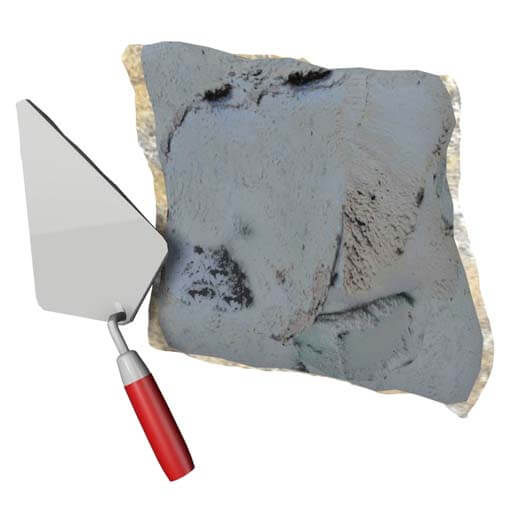
Now that you’ve planned out your layout, it’s time to mix your mortar.
Mix your Laticrete MVIS Hi-Bond mortar until it’s about as thick as paste. You’ll want it thick enough to work with, but not too thin that it falls off your trowel.
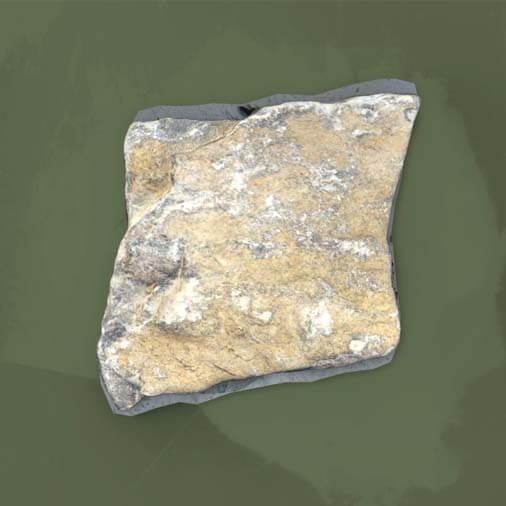
Note that you’ll want to keep the stone veneer slightly damp as you place it so that it doesn’t absorb the moisture from the mortar. Just use a spray bottle filled with water to mist the back of your stone.
Work in small sections at a time so the mortar doesn’t dry out. We recommend you start at a bottom corner, then work your way up and outward.
Then press the stone veneer firmly to the wall, holding it in place for around 10 to 15 seconds.
Gently rotate or wiggle the stone as you press in, squeezing excess mortar out.
If you notice that your stone is sliding around too easily, the mortar mixture might be too thin.
Here are a few tips that can help you achieve a better result:
- Use a level when placing the stones in their final locations to keep everything nice and level.
- Try to keep the joints as consistent in width as possible.
- Depending on the gap size you want, use wooden dowels cut in short increments to create consistent gaps between your stone.
- If you want to create a naturally laid appearance without the look of mortar, place the stones close together and minimize gaps.
- Be sure to brush or wipe excess mortar from the surface of your stone veneer as you go.
In the next video, we’ll show you how to finalize your install.
When you are ready to capture nature’s stone beauty in your home, call Green Mountain Veneer at (802) 377-3039 or contact us below. We offer a unique and wide-ranging selection of beautiful stone cut from quarries in the Northeast, and we ship nationwide! We look forward to partnering with you to create the home of your dreams.


