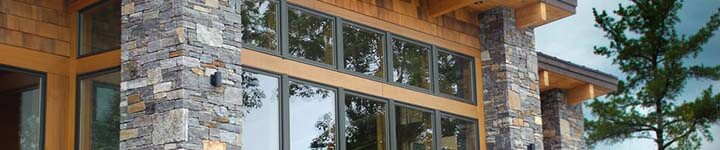
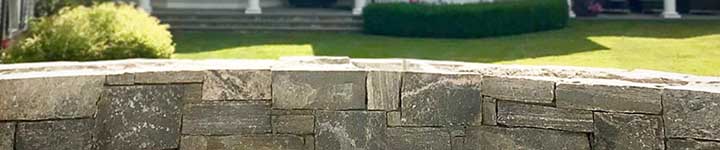
There’s no better way to make your home feel more exquisite and inviting than natural stone.
Traditionally, this look was achieved with heavy full sized building stone. Now with Green Mountain Veneer’s Natural Thin Stone Veneer, you can get the same aesthetic with a lightweight, simple to install alternative.
All of our thin stone veneer starts out as full bed building stone, which is then cut into thin flats and corner pieces using precision cutting machines.
Not only does this thin form factor simplify installation, it also lets you easily add stone to both new construction and existing homes or business at any time.
To install Natural Thin Stone Veneer, you’ll need the following basic tools and materials. Keep in mind that every project will vary, but this should get you started.
Tools and Materials
- A wet saw, angle grinder, or circular saw with a masonry blade
- A Hammer to reshape stone
- A wheelbarrow or 5 gallon bucket to hold mortar
- A mixing tool for the mortar
- A Trowel and pointing tool to apply the grout
- A wire brush to clean the stone
- A grout bag If your grout lines will be visible.
- MVIS Air & Water Barrier & MVIS High-Bond Mortar
- Metal lath for working on a rough, uneven surface
- And finally, Green Mountain Veneer’s Natural Thin Stone Veneer flats and corners
In the next video, we’ll look at how to take measurements to figure out how much stone you’ll need.
When you are ready to capture nature’s stone beauty in your home, call Green Mountain Veneer at (802) 377-3039 or contact us below. We offer a unique and wide-ranging selection of beautiful stone cut from quarries in the Northeast, and we ship nationwide! We look forward to partnering with you to create the home of your dreams.